Inspiration and enthusiasm for photography is abound!… and it seems that my email has recently exploded with questions and requests for mentoring. What I do and how I do it isn’t necessarily for everyone (and shouldn’t be!), but I am more than happy to do what I can to inspire you, tell you all I’ve learned, and help you live your dream… whether that’s becoming a “professional” photographer (and all that entails!) or simply nurturing your love of photography. For all of my readers who asked, Yes!.. I am planning a workshop in early January for 2-3 days – details coming soon – and yes, I do also offer mentoring one-on-one over the phone or in person. You can contact me personally for details – I can’t wait to meet you!
Here’s my first installment of FAQ’s… I hope you find the information helpful and inspiring!
Mac asked:
“I’m curious, in your indoor shots what lights (if any) do you use?”
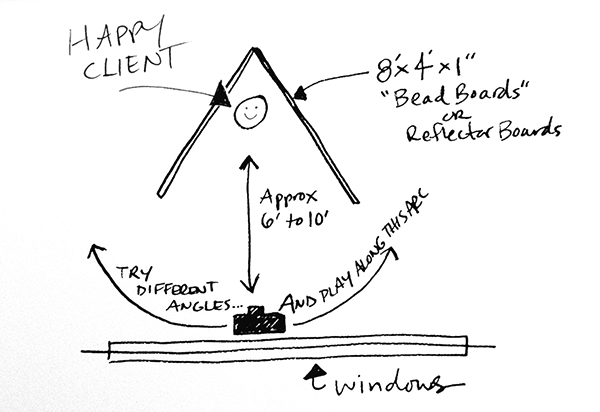
All interior shots for family is natural light only. Rembrandt had it nailed – I love the single light source of an open window… so when I first arrive at the client’s home, I walk around the whole house hunting for the best light. I also try to bump up the light as much as possible – here’s how:
- It’s no secret that I love shooting in bedrooms and doing my Bed Portraits, so bedrooms are my first choice and there is usually great light in there.
- I almost always shoot with my aperture wide-open.
- I keep my ISO as pure as possible – usually max at 400 or 640.
- I shoot RAW, so I have more leeway in post.
- I open every single window, door, etc. and raise every shade.
- White sheets on the bed and white clothing on the kids really helps 😉
- If I need to, I will enhance exposure in Lightroom, and sometimes will reduce noise in LR too, if that’s an issue.
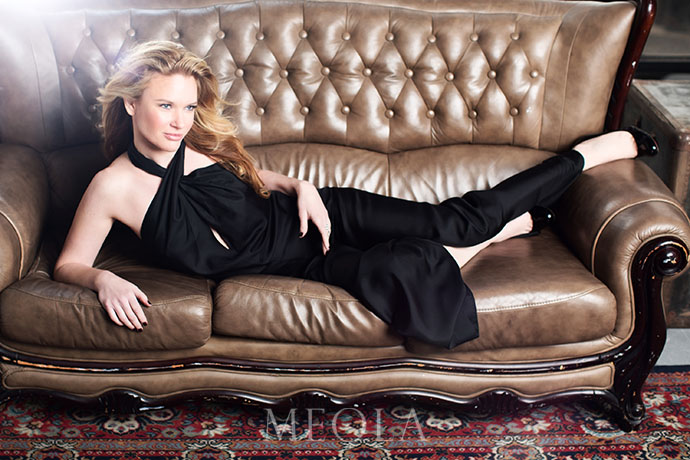
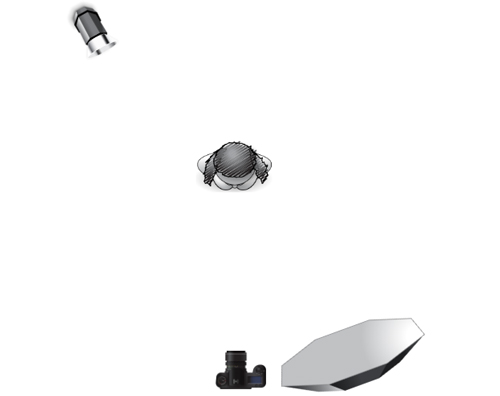
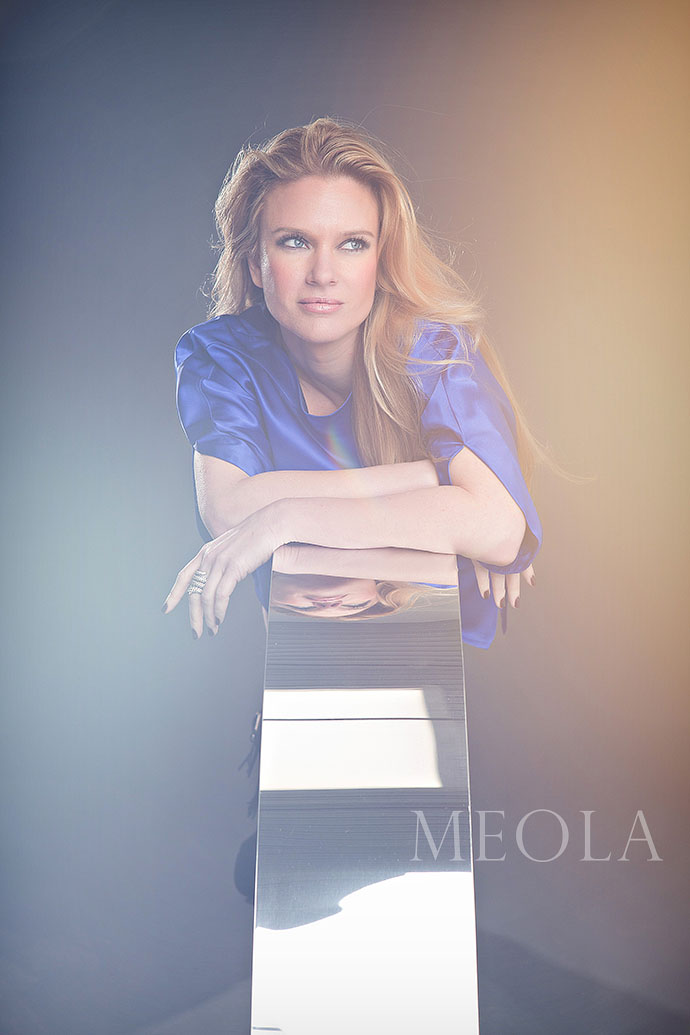
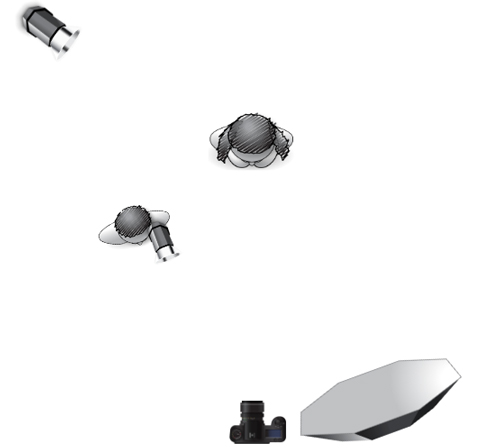
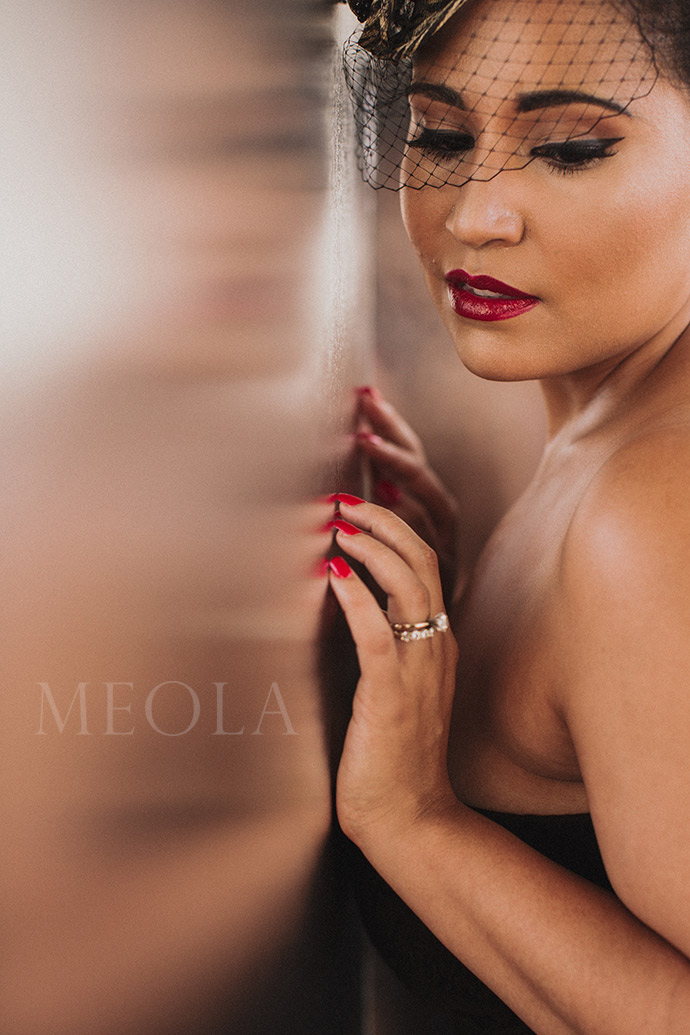
For boudoir shoots in hotel rooms, I do all of the above, and I also have an assistant holding a small handheld video light.
Dana asked:
I am just starting out as a photographer. What’s the next step? I feel there are so many things I need to do and am working to build the capital I need for equipment, but I think I’m in a lull. What inspired you when you first started? Any books, workshops, places to visit, etc. You’re truly an inspiration and I’d love to learn from you, even if it’s over the net! BTW – I think it’s time for a Christa Meola workshop!
I can relate to how you’re feeling right now, and I think you’re making smart choices and contemplating all the right things. I actually started shooting when I was a kid, so my inspiration was that wonderful childhood enthusiasm for discovering how I saw the world and what it meant to me. When I first started as a professional, I geeked out a ton on every photographer’s book and website I could find. As mentioned above, I actually am planning a workshop in early January for 2-3 days – details coming soon – and currently offer mentoring one-on-one over the phone and in person. In the meantime, here are my best suggestions for you:
- First, don’t spend money on equipment – you’re great with what you’ve got, invest elsewhere first. I may be the only photographer who’d recommend this… since most have the best equipment, several pricey lenses, and feel that’s the #1 priority. I am the complete opposite. The #1 priority is developing your eye and skill, and you can be a phenomenal shooter with a Rebel and one lens. I did it for the first 4 years of my business – shhhh, don’t tell anyone.
- Stay inspired! There is tons of free inspiration on the web – find your favorite shooters and follow them. Go to the library and look at your favorite photog books… just a few of my favorites are Annie Leibovitz, Henri Cartier-Bresson, Steve Meisel, Irving Penn… Strengthen your attraction to what works, looks good, and is technically sound.
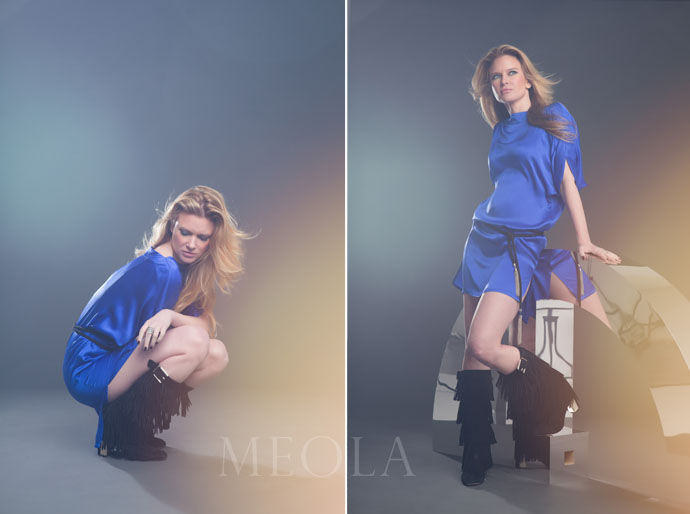
- Create your own projects! What is your dream shoot? And then go set it up for yourself – hire models, get props, hit the streets, or photograph your neighbor… do whatever you can to make sure you’re shooting at least a few times a week and building a body of work that is what you want to be hired for. For example, I started the Boot Black project on my own just for fun and to get some grit amongst all my happy loving family shoots.
- Take inventory of what your strengths are, and focus on those! Build on your strengths and lean on them… whether it’s your charming personality, amazing composition skills, etc…
- If you haven’t done so already, start the business! Set up a blogsite and begin! It’s time 🙂
Ashleigh asked:
How many pictures do you usually take during a portrait session? and then how many do you usually deliver to your client?
Everyone is different and has their own rhythm of shooting… It’s a good idea to play around to see what works for you. I tend to shoot a lot less than most digital photographers. Also, how much I shoot depends upon the number of people I’m shooting (if it’s just one person or a family of 5, etc.) and how many locations we’re shooting. Having said that, I usually shoot about 200-240 images and show about 70-80 (so a shooting ratio of about 1 in 3)… That’s for about an hour and half of shooting. A photo party client gets 45 min’s / one location, so it’s usually 150 images taken, and 50 shown. If there is a 2nd location and a large family, it’s more like 450 images, and about 120 shown. I try to edit down as much as possible. For boudoir portraits, I shoot a ton more – because girls need to warm up and all 😉 So it’s more like 550 images and 150 shown.
These are numbers for “shots taken” and “images shown to client.” As far as order and delivery, 99% of clients buy the whole disc of all images, put 24 to 40 pics in albums, and order an average of 16 enlargements and prints 🙂 and I blog about 7 to 15.
Thanks again for all of your questions! I truly enjoy sharing my love for photography and geeking out with other photographers – so give me a holler with whatever’s on your mind 🙂
Happy shooting!
xoxo,
Christa